This article is machine-translated and may contain errors. Please refer to the original Chinese version if anything is unclear.
Recently, I’ve been experimenting with a tiling desktop, and after some configuration, the experience feels quite good.
1. i3
Simply run apt install i3.
2. Wallpaper Configuration
When switching to i3wm, the whole screen is a black blob. I use Nitrogen to configure the wallpaper. Just add a startup command to the i3 configuration:
exec --no-startup-id nitrogen --restoreBTW, the wallpaper source is https://artvee.com/
3. Terminal Configuration
By default, it uses gnome-terminal that comes with the Cinnamon desktop; I was too lazy to change it.
I simply set the window transparency and adjusted the border color, then removed the right scrollbar.

Update: Changed terminal to Alacritty. Configuration:
[window]opacity = 0.6
[colors.primary]foreground = "#e8f5e8"  # High-brightness foreground color
[colors.cursor]text = "CellBackground"cursor = "#7fff00"  # Bright green cursor
[colors.normal]black = "#1a3d1a"red = "#ff6b6b"green = "#7fff00"    # Bright greenyellow = "#ffeb3b"blue = "#64b5f6"magenta = "#ba68c8"cyan = "#4dd0e1"white = "#e8f5e8"
[colors.bright]black = "#2d5a2d"red = "#ff8a80"green = "#b2ff59"yellow = "#ffff00"blue = "#82b1ff"magenta = "#e1bee7"cyan = "#84ffff"white = "#ffffff"
[font]size = 11.0
bar
Configuration file for bar:
bar { position top workspace_buttons yes strip_workspace_numbers yes status_command i3blocks colors { background #1b3a2f statusline #a7ffeb separator #26a69a # class border backgr. text focused_workspace #00897b #00897b #ffffff active_workspace #26413a #26413a #a7ffeb inactive_workspace #1b3a2f #1b3a2f #6a8d80 urgent_workspace #d32f2f #d32f2f #ffffff }}
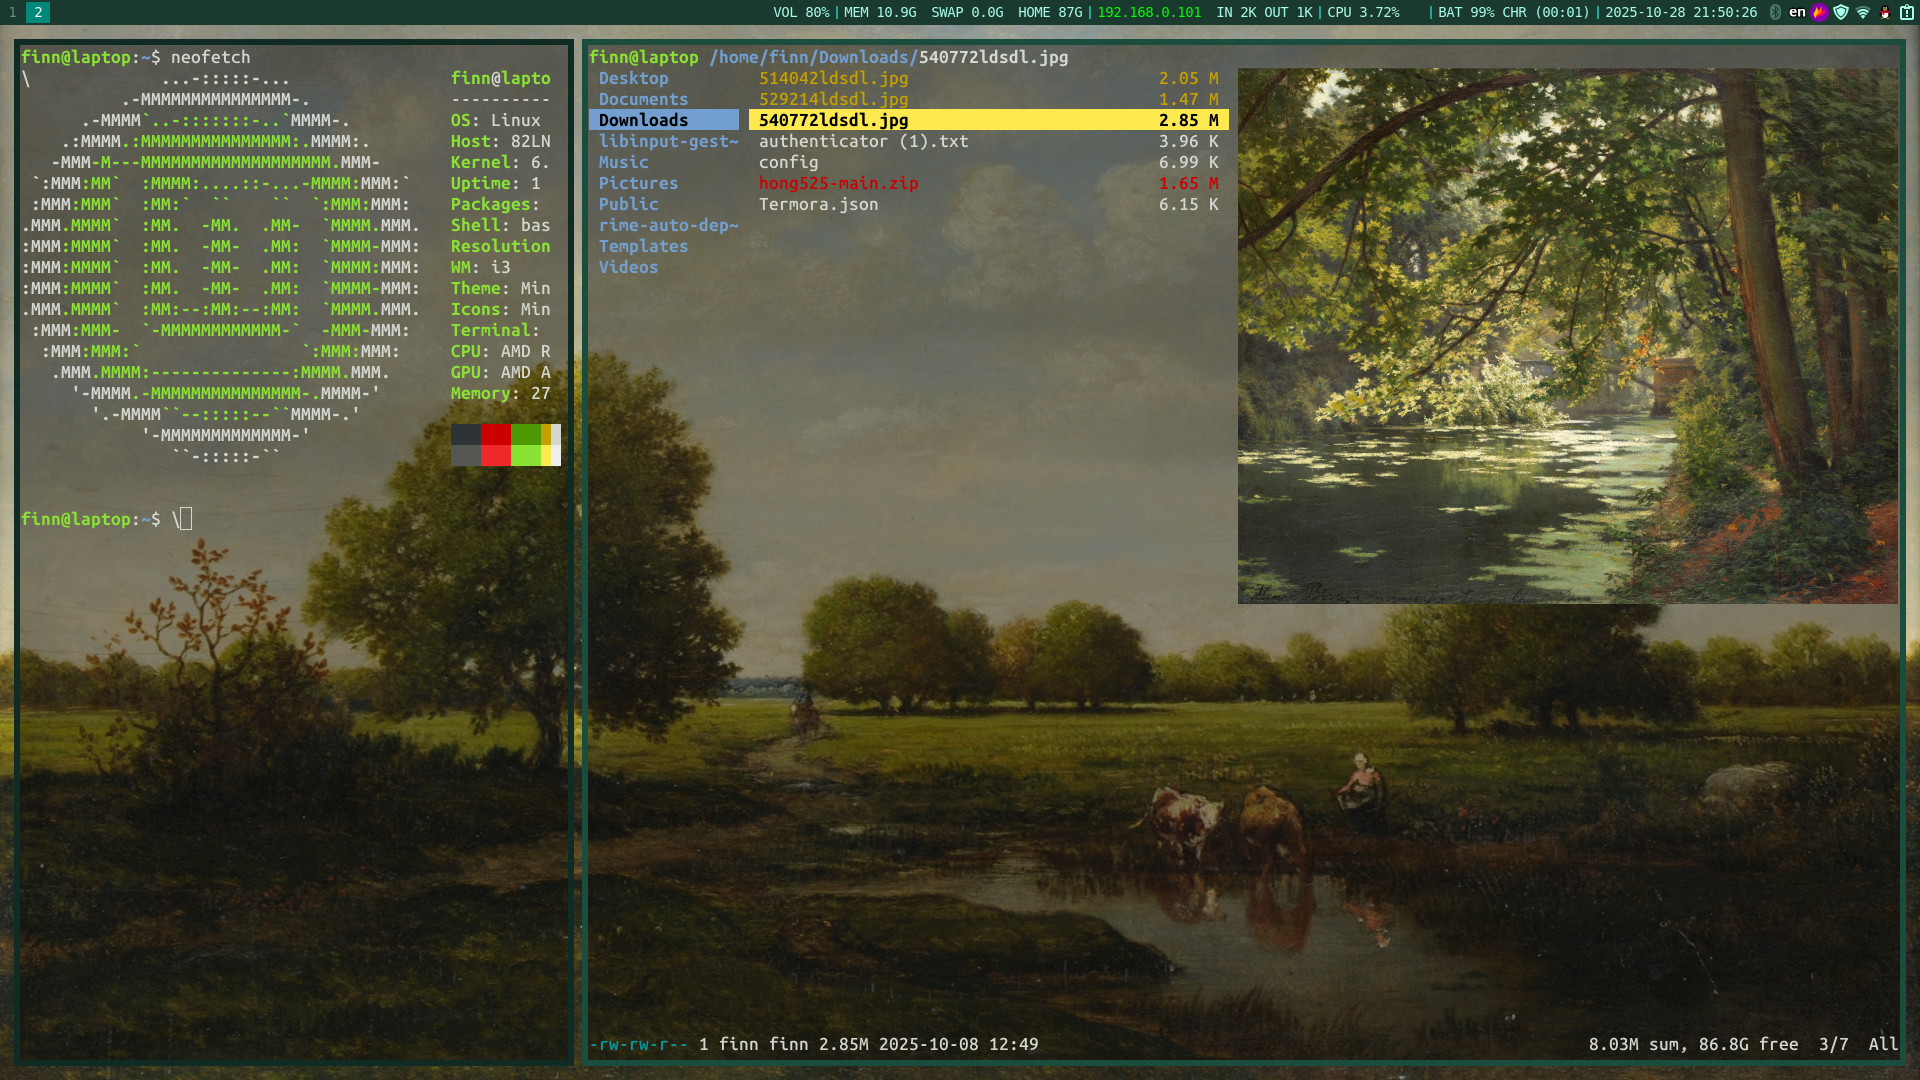
ranger
I use ranger for file management.
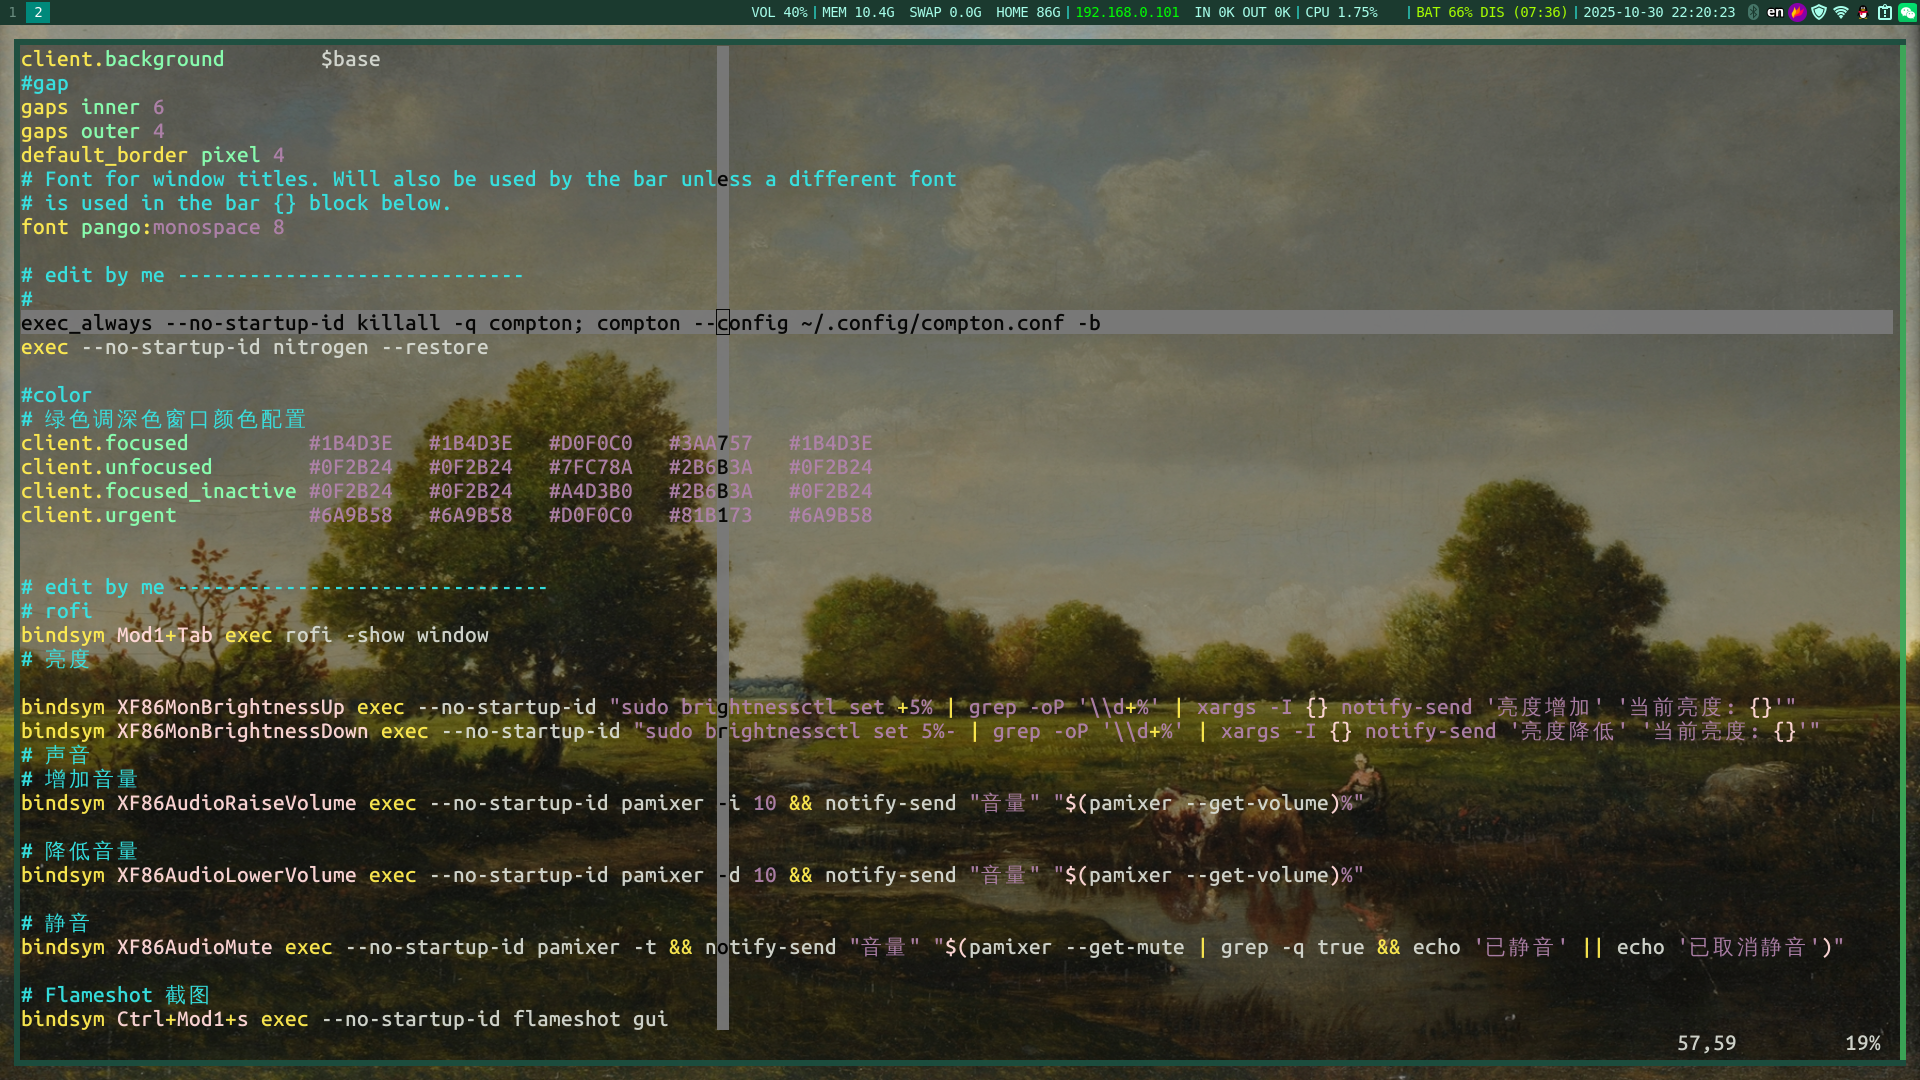
Volume
If you want to use the volume and brightness keys on your laptop to adjust them, you need some configuration.
For volume adjustment, I use pamixer.
i3 Configuration:
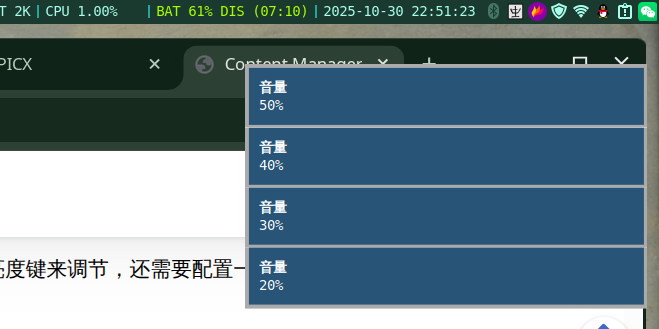
# Increase volumebindsym XF86AudioRaiseVolume exec --no-startup-id pamixer -i 10 && notify-send "Volume" "$(pamixer --get-volume)%"
# Decrease volumebindsym XF86AudioLowerVolume exec --no-startup-id pamixer -d 10 && notify-send "Volume" "$(pamixer --get-volume)%"
# Mutebindsym XF86AudioMute exec --no-startup-id pamixer -t && notify-send "Volume" "$(pamixer --get-mute | grep -q true && echo 'Muted' || echo 'Unmuted')"
I added a popup window, mainly for visualization…
Brightness
For brightness, I use: brightnessctl.
brightnessctl requires sudo privileges.
First, configure passwordless sudo:
sudo visudo -f /etc/sudoers.d/brightnessctlAdd:
finn ALL=(ALL) NOPASSWD: /usr/bin/brightnessctlSave and exit, then write into the i3 configuration file:
bindsym XF86MonBrightnessUp exec --no-startup-id "sudo brightnessctl set +5% | grep -oP '\\d+%' | xargs -I {} notify-send 'Brightness Up' 'Current Brightness: {}'"
bindsym XF86MonBrightnessDown exec --no-startup-id "sudo brightnessctl set 5%- | grep -oP '\\d+%' | xargs -I {} notify-send 'Brightness Down' 'Current Brightness: {}'"
Screenshot
I use Flameshot, it’s very easy to use.
# Flameshot screenshotbindsym Ctrl+Mod1+s exec --no-startup-id flameshot gui# Start flameshot daemonexec --no-startup-id flameshotUpdate:
Color Temperature
redshift-gtk
Configuration:
[redshift]temp-day=4000temp-night=4000brightness-day=1.0brightness-night=1.0location-provider=manualadjustment-method=randr
[manual]lat=0.0lon=0.0
Input Method
fcitx5 + rime + Foggy Thesaurus (雾凇词库)
https://github.com/iDvel/rime-ice
END
That’s about all I can think of. Haven’t written anything in a while, just casually posting…
p1

p2